Ellis Services Group
Floor Tiling
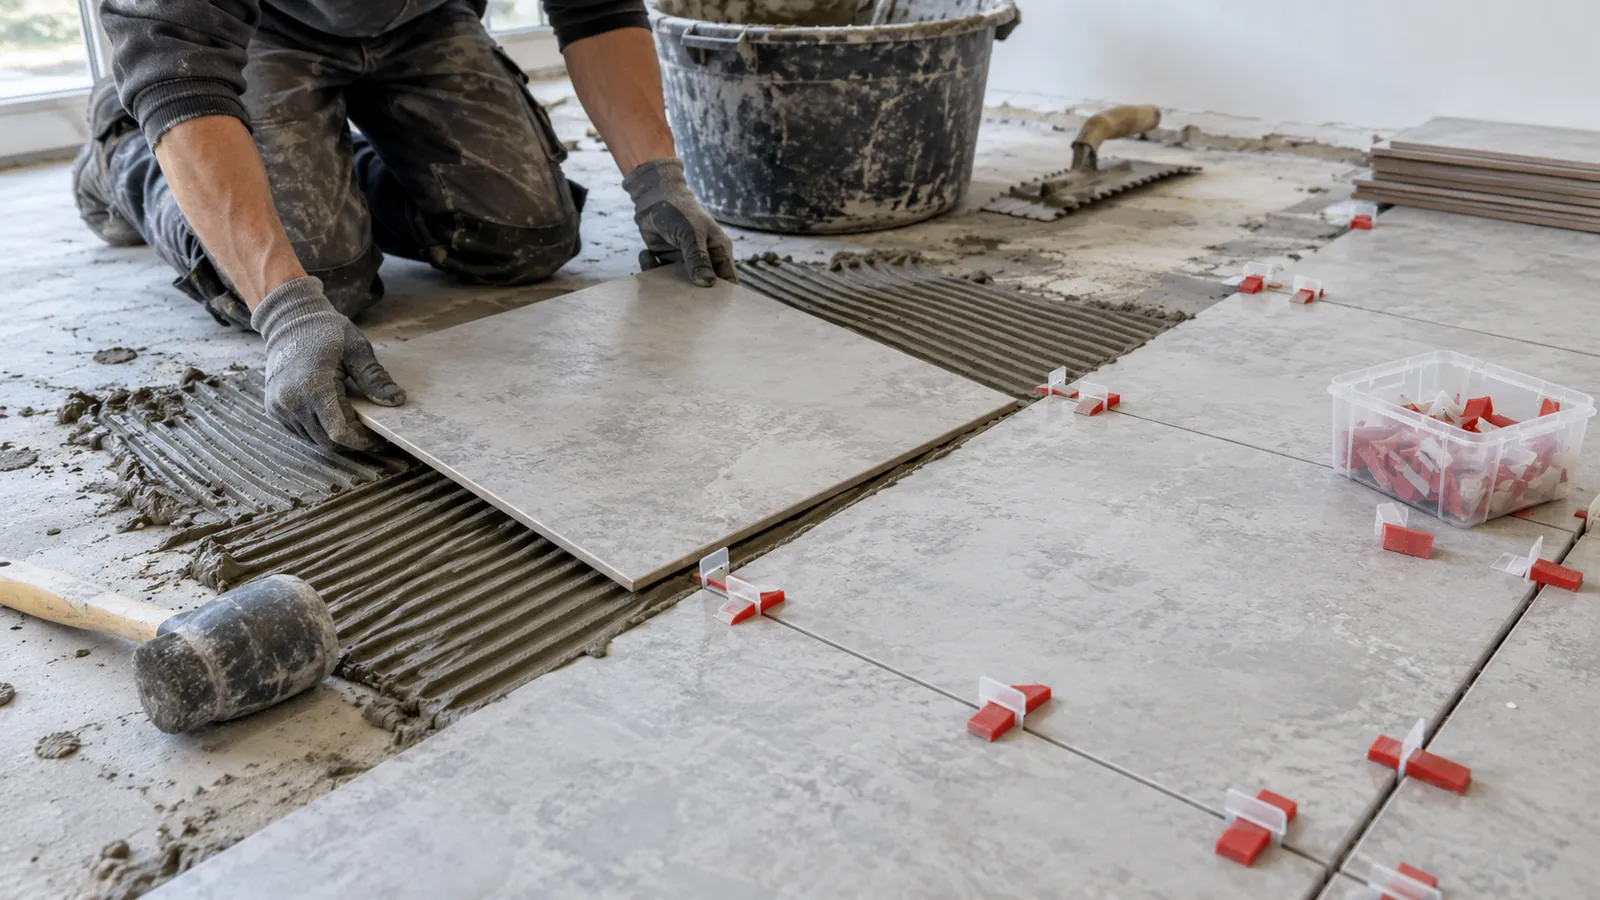
We install porcelain and ceramic floor tiles in kitchens, laundries, living rooms and connecting hallways. Whether you are tiling a prepared floor or replacing old tiles, we assess the base, plan the layout and doorway transitions, and confirm the included work and access arrangements in a written quote.
DISCUSS YOUR FLOOR TILING ↗0425 170 688Floor tile substrate preparation and material compatibility
Before floor tile installation, we check whether the base is concrete, a lined floor or existing tiles, then assess accessible flatness, movement, moisture and adhesion risks. Your scope distinguishes tile removal, old adhesive removal, repairs and any levelling needed before fixing. Tiling over existing tiles depends on a suitable base and compatible system; damage exposed during removal is assessed before extra work is agreed.
In a laundry, investigate water damage before covering it. New tiles do not repair a failed waterproofing layer or a plumbing leak. Coordinate any required laundry waterproofing and relevant trade work before installation.
Floor tile height transitions and clearances
We check the full floor build-up: tiles, adhesive and base preparation. We plan doorway transitions, door clearances and joins to carpet or timber before laying, so the finished height works with the way you use the rooms.
In kitchens and laundries, we check retained appliances, cabinet plinths and thresholds before work. A higher floor can affect dishwasher removal and appliance clearance. We define the tile edges and joints around fixed cabinetry and identify any cabinet movement or service disconnection as a separate scope.
Connected room tile layout
For connected rooms, we agree the tile direction, main sightlines and grout-line alignment before fixing. Doorways, out-of-square walls and the selected pattern affect visible cuts and where the layout changes direction. Share the product size and available quantity before ordering or booking installation so we can discuss cuts, spare tiles and any supply shortfall.
- Define the rooms, retained finishes and boundaries.
- Review tile direction, grout lines and doorway cuts.
- Plan movement joints and transitions with the base.
- Confirm trims, grout colour and tile supply responsibilities.
Kitchen wall work has different set-out needs: see kitchen splashback tiling. For isolated cracked or loose tiles, consider local tile repair and matching before assuming the full floor needs replacement. Our King William Street tile replacement record shows the vanity and adjoining floor area before, during and after the project.
Large tile substrate flatness and tile selection
Large-format floor tiles need preparation across the whole tile footprint, including adjoining edges and doorway transitions. We assess base flatness and discuss any repairs or levelling before installation. Clips help position tiles while fixing; they cannot make an unsuitable base ready for tiling.
We compare tile size, thickness, floor-use information and cleaning needs alongside the finish you want. Tell us whether tiles will be supplied by you or included in the quote, and share the product details before purchase. The adhesive, grout and any membrane interface must suit the selected tile and base; these responsibilities are confirmed with the installation scope.
Planning floor tiling while living in the home
Kitchen, laundry and living floors often sit on essential access routes. Discuss which rooms must remain usable, where furniture and appliances will go, and whether the work can be divided into suitable stages. Phasing may affect layout, work boundaries and the programme; a walkway cannot be promised through an area that needs protection while curing.
Return to foot traffic, furniture loads and normal cleaning may occur at different stages. Follow the confirmed instructions for the installed materials and conditions, rather than testing readiness by walking on the floor. Read the drying, curing and return-to-use guide.
For a like-for-like floor tiling quote, compare removal and disposal, base repairs, levelling, tile supply, cuts, joints and doorway finishes. State which rooms connect and must remain accessible so any staging and exclusions are clear. General supply and installation questions remain in the tiling FAQs.
Large-format porcelain and ceramic floor installation
Porcelain and floor-rated ceramic tiles need adhesive coverage and movement joints suited to the chosen format and base. Tile-face variation is considered alongside the set-out.
Floor tile body, surface finish and cleaning needs
Porcelain describes the body; polished and glazed describe surface features, while rectified describes the edge treatment. Rectified tiles still need planned grout joints. Compare the actual product for traffic, cleaning and wet entrances.
Natural stone, real terrazzo and cement tiles have their own fixing and care requirements. A marble-look porcelain tile remains porcelain; share the actual specification to confirm any required sealing and maintenance.
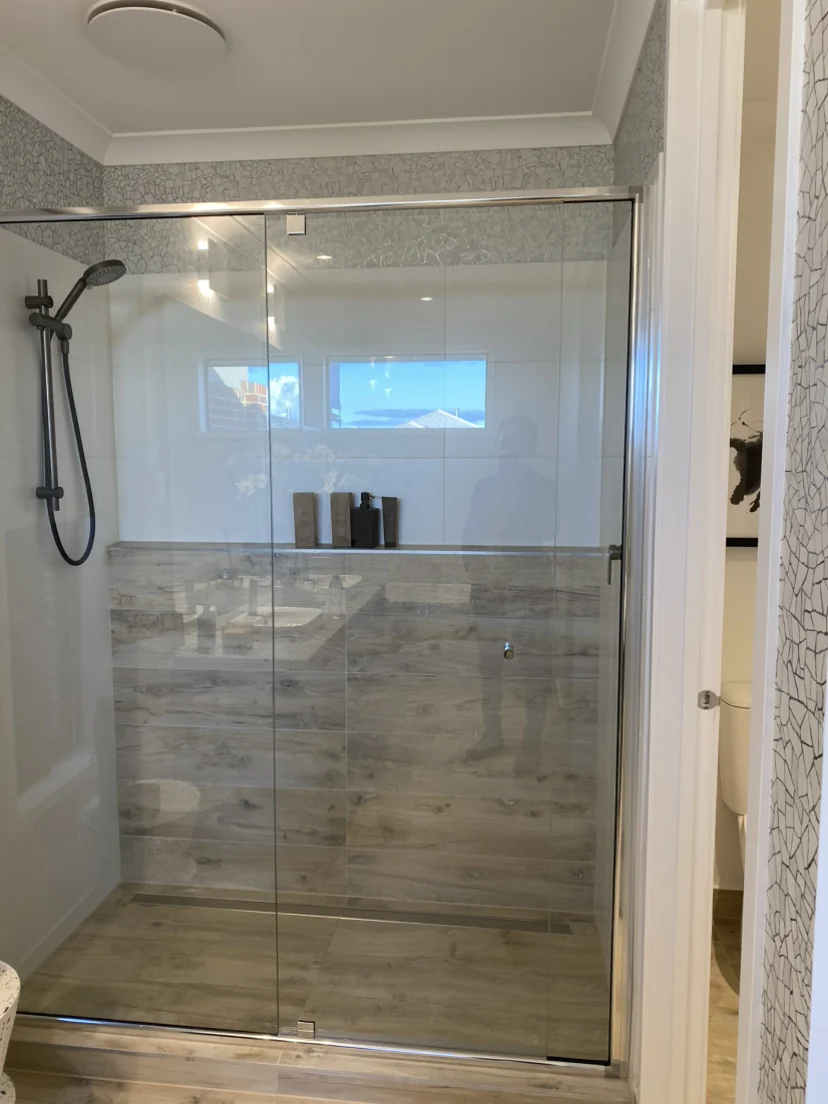
Timber-look porcelain floor layout and a bathroom example
For grey-brown timber-look porcelain floors, we plan the plank direction, tile-face variation, grout colour and transitions between connected rooms. The wood effect comes from the tile pattern; installation still needs a suitable tiled-floor base, adhesive coverage and movement joints.
For long planks, check the manufacturer’s permitted stagger before setting out the floor.
- Review sample faces and grain direction before fixing.
- Confirm grout joints, movement joints and transitions to adjoining finishes.
- For a bathroom or shower floor, check wet-use suitability, falls, drain cuts and the waterproofing interface separately.
The supplied bathroom case shows the timber-look finish continuing from the shower floor onto the lower wall. For similar wet-area work, see bathroom tiling and wet-area preparation.